


背景
ブログ サイトを構築した後、使っているSAKURA様式の中に、API を呼び出すことで実現されているランダム画像取得の機能が含まれている。
数日使ってみた感想と気になる点:
- APIの呼び出し速度が遅い
- 使えなくなる可能性がある
- 好みの画像を追加したりは不能
- したがって、可能なら独自のランダム画像取得API を構築するほうが良い。
作业情况:
- 自分のブログ サイトは仮想マシンのCentOS7に配置している
- ランダム画像取得API も同じサーバに配置するつもり
- それで、同じサーバーに2つのnginxインスタンスを展開する必要がある
備考:1つのNginxインスタンスに2つのサービスを設置する人もいる。
1.php-fpmとnginxをインストール
1-1.作業ディレクトリを作成
/home/getimgは自分なりの名前
mkdir -p /home/getimg/docker/nginx/conf.d
mkdir /home/getimg/www
cd /home/getimg/docker/nginx/conf.d
touch default.conf
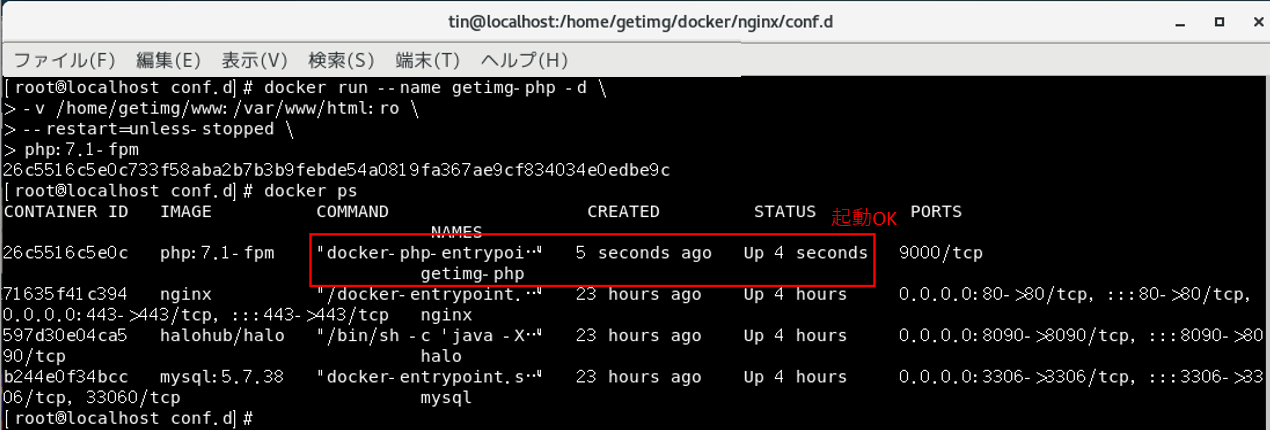
1-2.phpコンテナを起動
docker run --name getimg-php -d \
-v /home/getimg/www:/var/www/html:ro \
--restart=unless-stopped \
php:7.1-fpm
1-3.nginxのconfigファイルを修正
/home/getimg/docker/nginx/conf.d/default.confを以下のように修正
備考:1-1に作成したディレクトリ&ファイル名と一致
server {
    listen       80;
    listen  [::]:80;
    server_name localhost;

    location / {
        root   /usr/share/nginx/html;
        index  index.html index.htm;
    }

    error_page   500 502 503 504  /50x.html;
    location = /50x.html {
        root   /usr/share/nginx/html;
    }

    location ~ \.php$ {
        fastcgi_pass   php:9000;
        fastcgi_index  index.php;
        fastcgi_param  SCRIPT_FILENAME  /var/www/html/$fastcgi_script_name;
        include        fastcgi_params;
    }
}
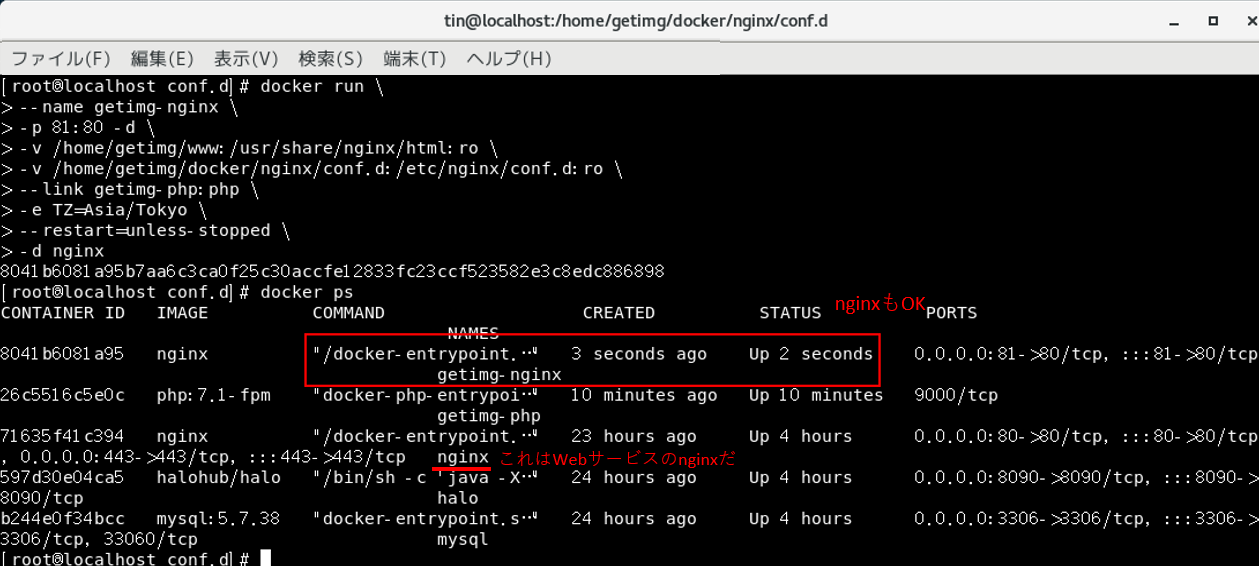
1-4.nginxを起動
docker run \
--name getimg-nginx \
-p 81:80 -d \
-v /home/getimg/www:/usr/share/nginx/html:ro \
-v /home/getimg/docker/nginx/conf.d:/etc/nginx/conf.d:ro \
--link getimg-php:php \
-e TZ=Asia/Tokyo \
--restart=unless-stopped \
-d nginx
備考:-p 81:80,ここでポート80ではなく、81を使用するのは、ブログサービス側のnginxがすでに80ポートを使い切ったためだ。
nginx起動ステータス
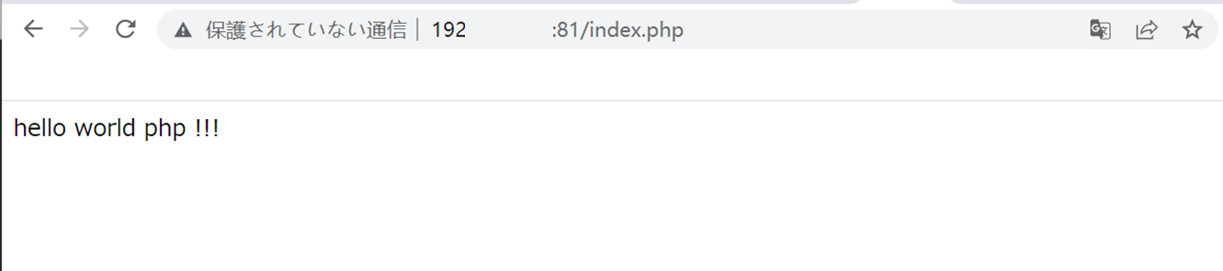
1-5.ブラウザでphp稼働確認
/home/getimg/www/index.phpにテスト文字を記入

ブラウザでの確認
1-6.以上で、必要な環境構築は完了
2.ランダム画像取得APIの構築
2-1.APIコーディング
/home/getimg/www/getimg.phpを作成して
下記のコードを書き込む
<?php

// 2つのパラメータ $path と $files
// $pathは追跡するパスを示し、$filesはすべてのファイルを保存するための配列を示す
function list_files_recursive($path, &$files) {
    // $pathがパスなら、パスを開く
    // readdirメソッドでパス中全てのファイル名を読み取る
    if (is_dir($path)) {
        $dh = opendir($path);
        while (($file = readdir($dh)) !== false) {
            // 現在のディレクトリ . と親ディレクトリ ..を排除
            if ($file != '.' && $file != '..') {
                //当該ファイルのフルパスを構成
                $full_path = $path . '/' . $file;
                // もし$faile自体がパスなら、再帰的にlist_files_recursiveを呼び出す
             //  パス名$full_pathと作成中の配列$filesをパラメータにする
                if (is_dir($full_path)) {
                    list_files_recursive($full_path, $files);
                } else {
                    $files[] = $full_path;
                }
            }
        }
        closedir($dh);
    // $pathはディレクトリではなく、ファイルの場合、$pathをファイル名として $files配列に格納
    } else {
        $files[] = $path;
    }
}

$path = '/var/www/html/img';
$files = array();
list_files_recursive($path, $files);

// header のデータタイプを「image/jpeg」に設定
header('Content-Type: image/jpeg');
// readfileメソッドでランダムに配列からファイルを読み込む。
readfile($files[array_rand($files)]);

?>
2.2.画像リポジトリを作る
/home/getimg/www/img直下に、直接が画像を格納したり、または分類用のサブフォルダを用意して画像を格納するのも構わない
ヒント:コンテナ外の/home/getimg/www/とコンテナ内の/var/www/htmlは同期している状態。phpが実行すると、/var/www/html/imgから画像データを読むこと。
2-3.API呼び出し確認
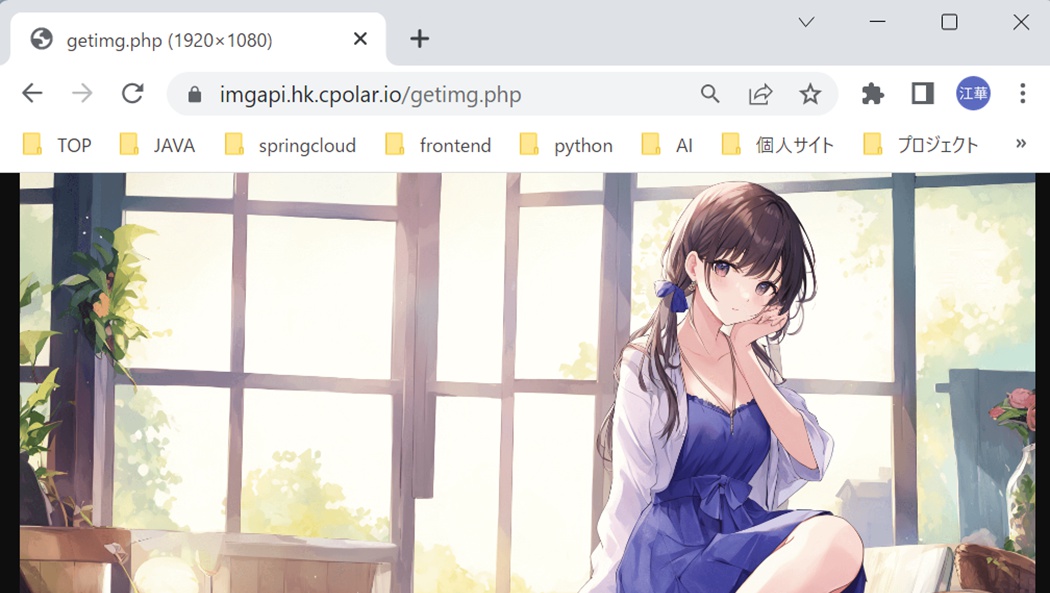
2-4.同じページで複数の呼び出しがある場合
ドメイン/getimg.phpの後ろに任意のパラメータを付けるのは,重複の画像を回避できる
如:
ドメイン/getimg.php?t=abc1
ドメイン/getimg.php?t=abc2
コメント欄